Table of Contents
When looking at having a septic tank installed, there are a number of considerations to make. Whilst every septic tank installation is different, here is an outline of the steps we take at Peachy Services, experts in liquid waste management services.
Before we delve into the installation process you may want to check our guide on what is a septic tank and how it works.
1. Site Evaluation:
Soil Percolation Test (the ‘Perc Test’):
This involves the excavation of test holes and measuring the rate at which water drains through the soil. This crucial data dictates the necessary size and design of the drainage field, as it indicates the soil’s capacity to naturally treat the effluent.
Identification of Site Constraints:
With a comprehensive survey of the property. Including; identifying property boundaries, noting any easements or rights of way, establishing required setbacks from buildings and water sources (including any local streams or wells), and locating all existing underground services. These considerations influence the optimal placement of both the septic tank and the drainage field.
Determination of Tank Capacity:
Often based on the number of bedrooms in a domestic property or the capacity if it is a commercial property, these provide a reliable indicator of anticipated wastewater flow.
2. Septic Tank Selection:
Guidance on Tank Materials and Tank Type:
We offer expert advice on the most suitable tank materials and type in order to ensure the most appropriate tank for your specific needs. All of these recommendations come at competitive prices too. It is also worth noting how environmentally friendly septic tanks are.
Sizing and Capacity Matching:
Ensuring the selected tank has the correct volume to effectively handle the wastewater generated by the property, adhering strictly to relevant standards and local guidelines.
Consideration of Accessibility for Future Maintenance:
We strategically consider the tank’s location to ensure easy access for future emptying and routine maintenance, a practical consideration for homeowners.
3. Excavation:
Tank Excavation:
Excavation of the tank pit to the precise dimensions required for the chosen tank, ensuring adequate clearance for backfilling. The base of the excavation is levelled and left undisturbed to provide a stable and even foundation for the tank.
Trenching for Inlet and Outlet Pipes:
Trenches for the pipework connecting your property to the tank and the tank to the drainage field are excavated to the correct depth and with the necessary gradient to ensure efficient gravity flow of wastewater.
Drainage Field Excavation:
Following the approved design, the excavation of the trenches or designated bed area for the drainage field to the specified depth and dimensions is done.
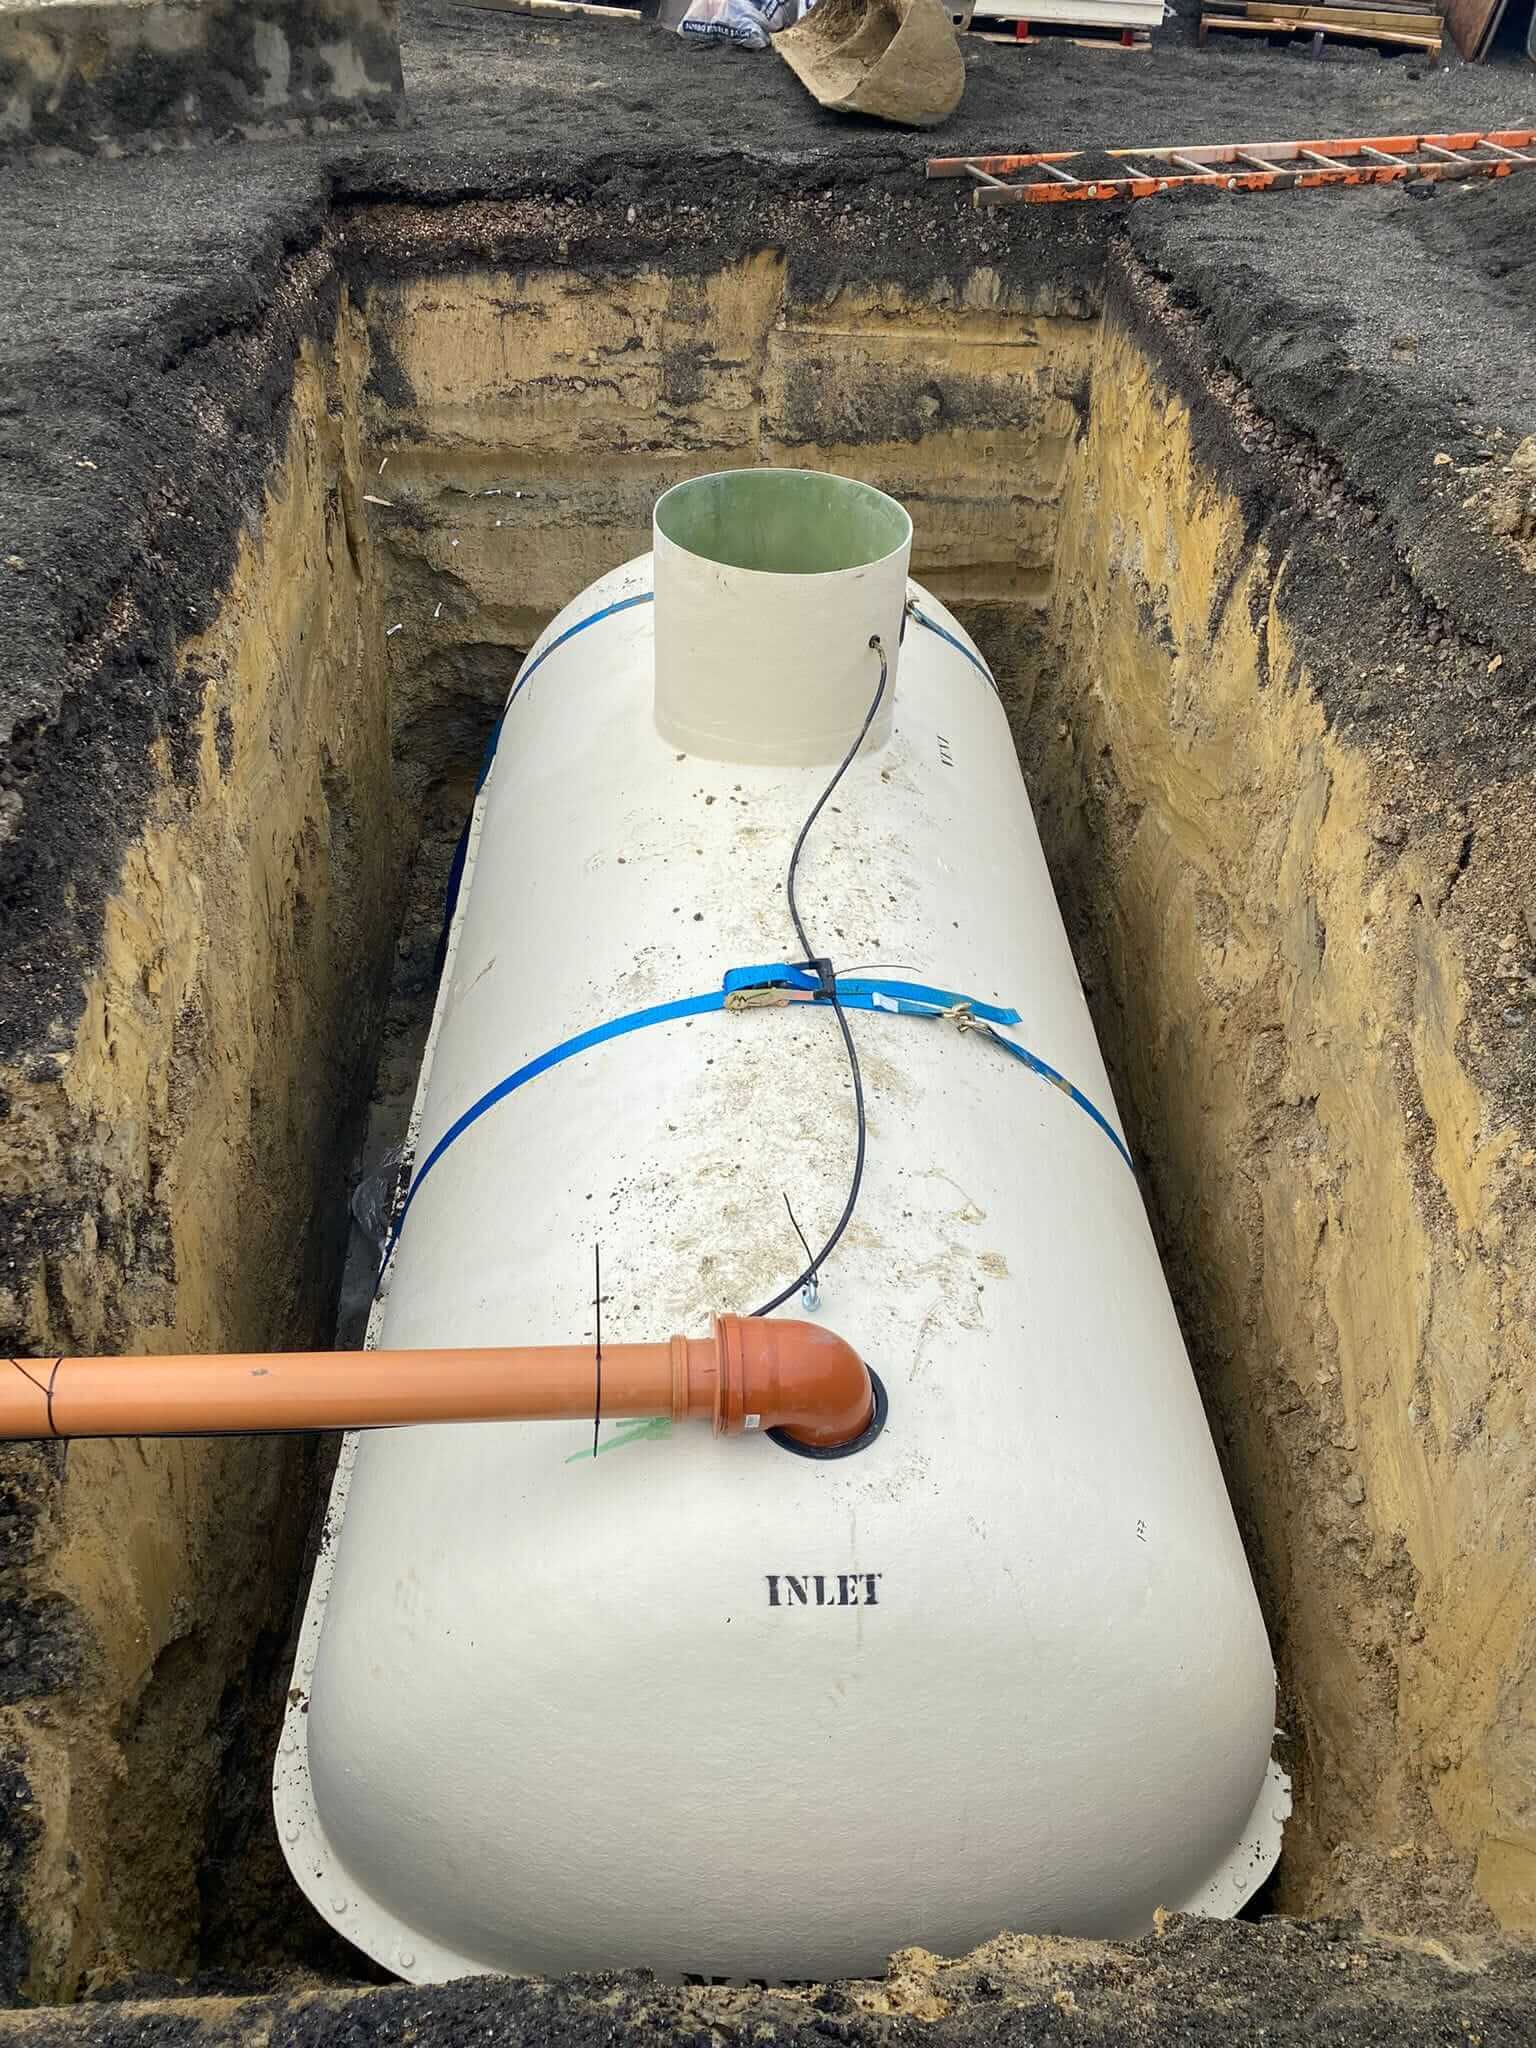
4. Septic Tank Installation:
Lowering of the Tank:
The septic tank is carefully lowered into the prepared excavation. Ensuring the tank is perfectly level and correctly oriented with respect to the inlet and outlet pipe connections.
Pipe Connections:
Qualified pipefitters create secure and watertight connections between the incoming pipe from the property’s plumbing and the tank inlet, as well as between the tank outlet and the pipe leading to the drainage field.
Backfilling:
Once the tank is correctly positioned and connected, the excavation is backfilled in compacted layers. Often utilising specific materials like sand or pea shingle for the initial backfill around the tank to provide optimal support and prevent any potential damage.
5. Drainage Field Installation:
Laying of Perforated Distribution Pipes:
Perforated pipes are laid within the prepared trenches or bed of the drainage field, adhering to the design specifications regarding spacing and layout to ensure even distribution of the treated effluent.
Placement of Specified Filter Media (Gravel):
The perforated pipes are surrounded by a layer of carefully selected gravel. This layer facilitates the even dispersal of effluent, protects the pipes from soil compaction, and provides void space for the wastewater to disperse effectively into the soil
Installation of Filter Fabric (Where Required):
A layer of geotextile filter fabric is often placed over the gravel layer before final backfilling. This crucial component prevents fine soil particles from migrating into the gravel and potentially clogging the drainage field over time.
Backfilling of the Drainage Field:
The trenches or bed are backfilled with suitable soil, ensuring appropriate compaction to prevent future settlement issues on the property.
6. System Testing and Inspection:
Comprehensive Leak Testing:
This is done by filling the septic tank with water to check for any leaks in the tank structure itself or at any of the pipe connections.
Verification of Flow Dynamics:
Water is then run from the property to confirm proper flow through the inlet pipe into the tank and out through the outlet pipe towards the drainage field.
Documentation:
Upon completion, a detailed documentation pack will be provided, including all relevant permits, system design drawings and clear guidelines for the ongoing maintenance of the septic system.
Need Help with the Installation?
There are many great reasons as to why you should install a septic tank, but given the complexities of the installation, it isn’t often advisable to one yourself.
Not only is it a difficult job, there are strict binding rules regarding the installation and use of a septic tank in the UK. That’s why many homeowners and business owners trust experts such as Peachy Services to install their septic tank.
From our initial consultation, it may even arise that a septic tank isn’t even your most suitable solution; instead your property may benefit from a sewage treatment plant instead. Contact us to discuss your waste management requirements.